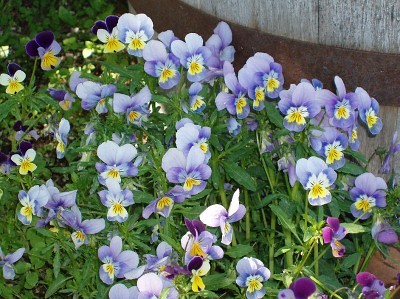
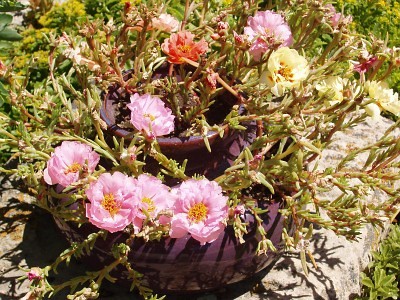
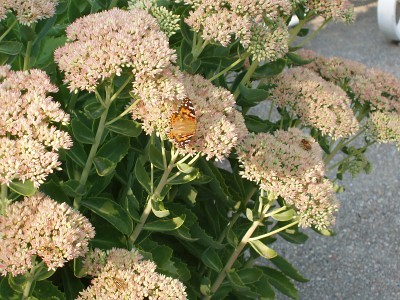
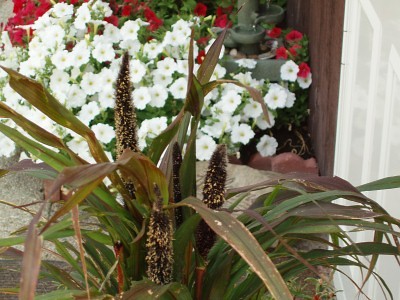
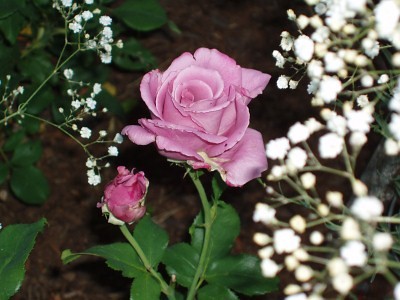
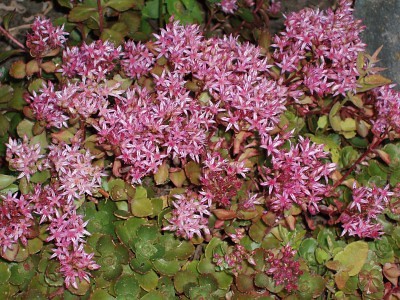
The Flowers of Home
Choose small picture to enlarge
| ||||||||||||||||||||||||


The software used in the sample below is available at: ClicPic for $29.95. (No, this isn't an affiliate thing - there is no revenue generated to HC from this 'plug'.) There is a free trial available for download. The program is incredibly easy to use and allows you to change colors so the frame matches your site. It also optimizes and resizes your photos. You can add up to 32 photos and choose the layout you want. Nice little program.
ADDING ALT TEXT TO YOUR PHOTOS:
Once you have created your gallery you can edit the code so that the small images will have alt text.
Make the changes on the ClicPic code page itself or copy the code and paste it into notepad.
Each image will have code similar to the following - the part in navy is the code generated for this particular gallery. The part in red is where you add your alt text.
<img src='http://www.homesteadconnection.com/floral2/
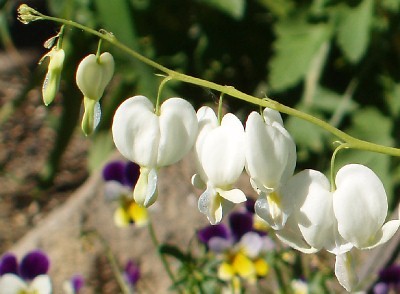
sm_lg_6_18_05_Stevensville_House_bleeding_heart2.jpg'alt="Bleeding Heart" border=0></a></td><td width=96 height=72 bgcolor=#E0E0E0>

Open Clic Pic and enter a name for your gallery -- The example gallery above is named Floral2. The name is typed into the Gallery Name box as shown below.
In the example above the Gallery named Floral2 will be placed in the root directory (in the example the root directory is www.homesteadconnection.com) and the GalleryName is referenced (/floral2). If you place the Gallery in a folder then the Host URL would change to reflect that file name, ex. www.homesteadconnection.com/whateverthefilenameis/floral2
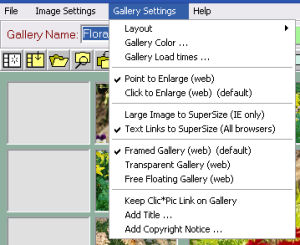
Use the Gallery Settings to choose your layout, the Gallery colors, etc.
If you want text in a cell rather than a photo, right click on the cell and choose the 'Text in Cell' option.
Drag your photos into the Gallery from your file. When you have completed the Gallery click on MAKE.
You will get a preview of what your Gallery will look like. If satisfied, close out the Preview and the Code for your Gallery will be showing. (See Fig 1.) Copy it, create an Insert HTML box in SiteBuilder and paste the code into the Insert HTML box in SiteBuilder. Once that is done Close the Code View.
STEP 1
STEP 2
Gallery Name
Host URL
Gallery Name shown in the URL
Check your page in Preview mode in SiteBuilder and position your Gallery.
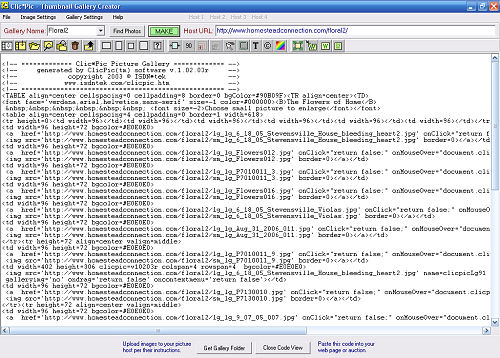
FIG. 1
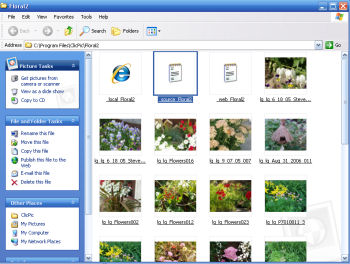
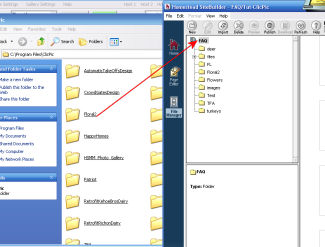
Click on 'Get Gallery Folder' and your screen will look similar to the one in Fig.2 below.
FIG. 2
There are two ways to import the gallery folder into your SiteBuilder File Manager.
Opt.1 - On the page like the one to the left, Click Edit in the upper tool bar > Click Select All > drag the selected elements into the root directory or the file you specified in the URL in Step 2. PUBLISH THE FILE - *Note: click ok on the message that will pop up regarding tmbs.
Opt. 2 - In the browser bar use the drop down arrow and select the Clic Pic folder (Fig. 3). In the new window that opens select the folder you just created and then drag the folder into File Manager. (Fig. 4 & 5) PUBLISH THE FILE.
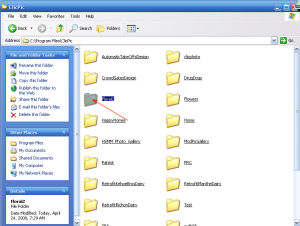
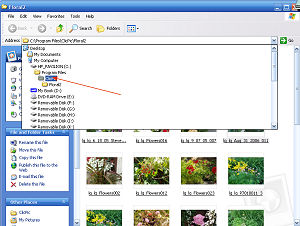
FIG. 3
FIG. 4
If you get red X's in place of pictures in Preview mode it means:
ERROR 1 - You didn't import the file into the proper place in File Manager.
Remember the Host URL you specified in Steps 1 and 2.
Gallery dragged into the root directory in File Manager.
If a file was specified in the Host URL address (Step 1 and Step 2) the folder would be placed in that file rather than the root directory.
In this example I specified the Host URL as:
www.homesteadconnection.com/floral2 As shown to the right, the Gallery Folder has to go into the root directory because that is the location I specified.
ERROR 2 - You forgot to PUBLISH the folder or files.
ERROR 3 - You didn't use the Gallery Name in the Host URL as specified in Steps 1 and 2.
The Host URL will be the location where you place your Gallery in the SiteBuilder File Manager and must contain the Gallery Name that you just entered in Step 1.
FINAL STEP
Once you have added the alt text, copy the entire code and paste it into the HTML box in place of the original code.
FIG.5
Create a Photo Gallery
Tutorial Submitted by :: sj enterprises
Copyright 2006 - Homestead Connection - All Rights Reserved
Homestead Website Design and SEO - S&J Enterprises
Use the internal search feature to the right or the site map for easy access to information.
 | ||||