- Highlight the Root Directory or the Folder where you want to import the file.
- Click on Import
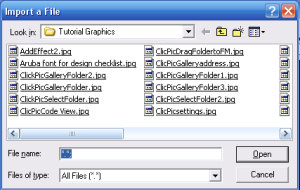
- Choose the image or file you want from your files - Click Open
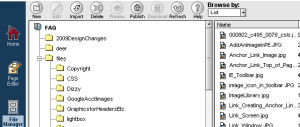
- The File will import to the File Manager in the location you selected. The yellow upload image indicates that the photo or file is now resident in your files, but would not be visible on the Web until it is published.
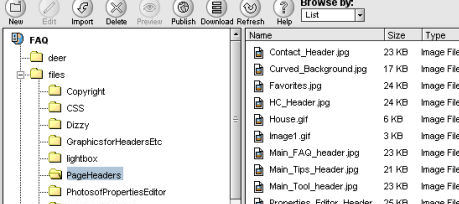
Click on the NEW icon in the file menu. Enter the name for the new folder in the box that pops up and click OK.
Importing files to the File Manager
You can import files directly to the File Manager in a couple of ways:
TIP: If you move an image or folder from where you first publish it you 'break' the address and will need to re-link any images or text, etc. Also if you move an image from one folder or file to another you will lose that image on the page where it currently resides and will need to import it from the new location onto the page again.
>
How to View Files in File Manager
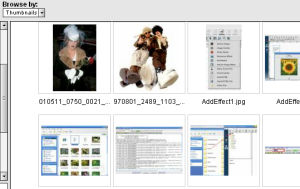
SiteBuilder gives you the option of viewing files either as a text list or as thumbnails. The thumbnail view is particularly handy when you want to clean out files or need to find a particular image.
^
<
^
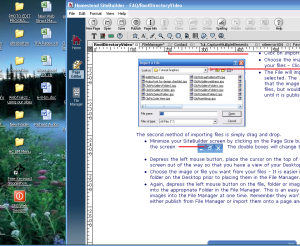
The second method of importing files is simply drag and drop.
- Minimize your SiteBuilder screen by clicking on the Page Size button in the upper right corner of your screen The double boxes will change to a single large box
>
- Choose the image or file you want from your files - It is easier if you place the file or folder on the Desktop prior to placing them in the File Manager.
- Again, depress the left mouse button on the file, folder or image you want and drag it into the appropriate Folder in the File Manager. This is an easy way to import multiple images into the File Manager at one time. Remember they won't be published until you either publish from File Manager or import them onto a page and publish.
>
Using the File Manager in SiteBuilder
<
Thumbnail View
List View
Page 1 Page 2
Use the internal search feature to the right or the site map for easy access to information.
<
- Place the cursor on the top of the Site Builder page, depress the left mouse button, and drag the screen out of the way so that you have a view of your Desktop.
>
Desktop is now visible
This site is not owned by Homestead Technologies™ and is not intended as a replacement for Intuit Homestead Help Sections or Technical Support.
Copyright © 2006 - Homestead Connection - All Rights Reserved
Homestead Website Design and SEO - S&J Enterprises
Click on the folder where you want the new folder to reside. In the image below if a new folder were created it would go into the Page Headers folder as that is what is highlighted.
THEN >
Create a new folder in the File Manager